Buoyancy sets you on the road (or depth) of Scuba Diving, breathing is the fuel that powers you on. In addition to your buoyancy & breathing control, to become an efficient and effective scuba yogi and ambassador, you also have to practise some good habits .
Photo credit @anupjkat
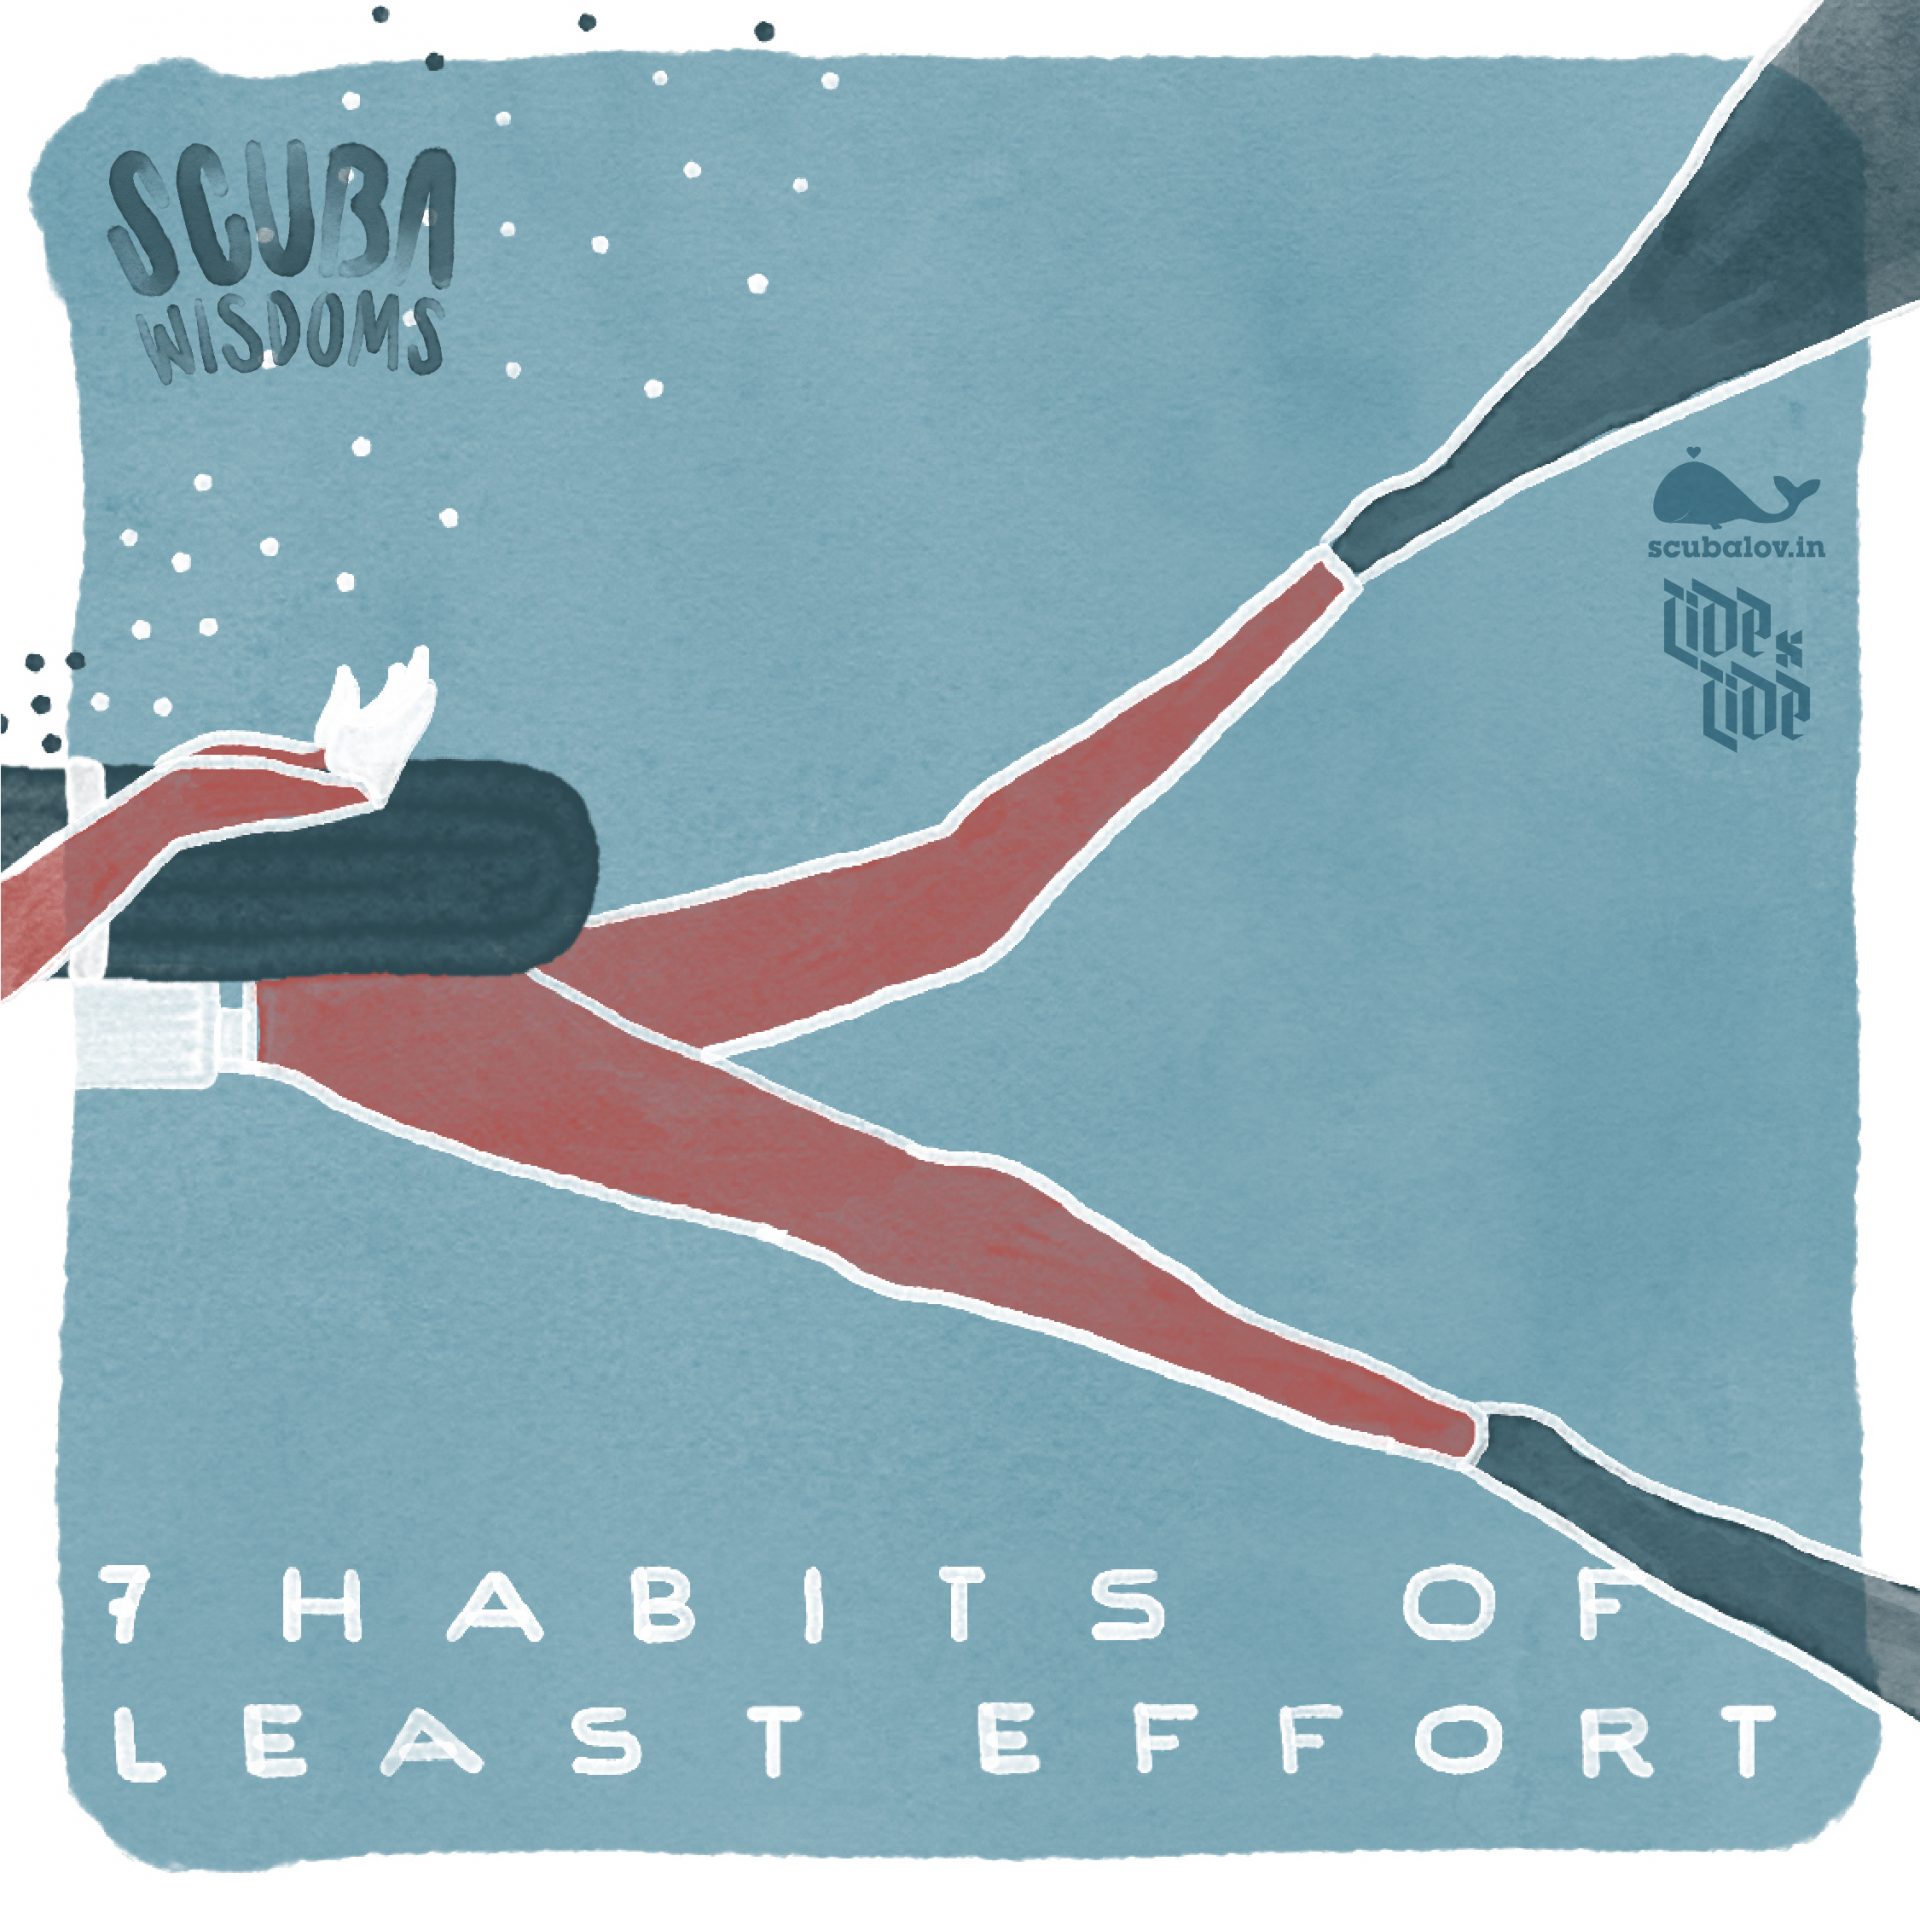
All these habits, which we explain in this scuba wisdom session, help you in wasting the least amount of energy and thus making the least effort whilst underwater so you can cruise around a dive site in a relaxed and comfortable way.
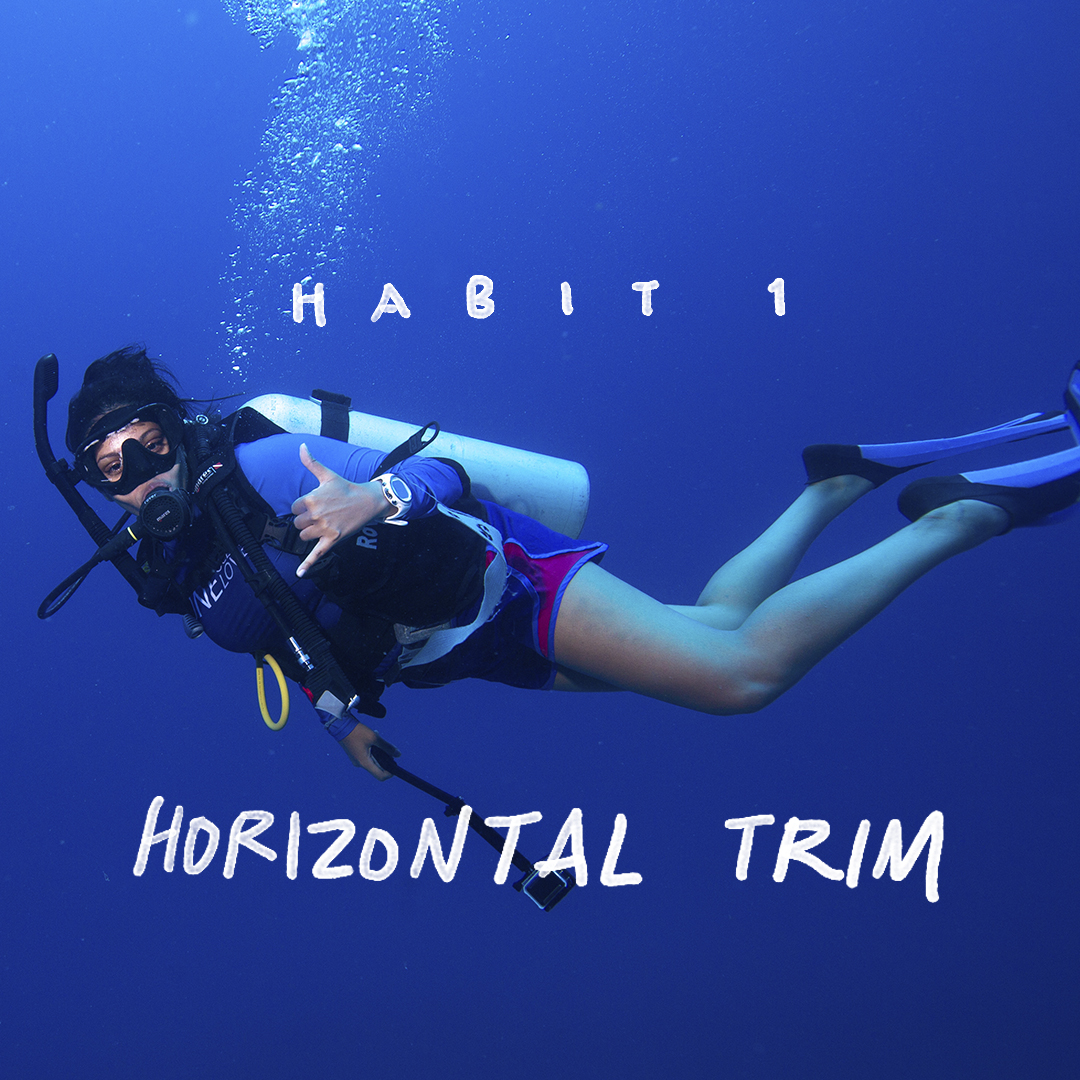
Habit 1 = Horizontal Trim
As you remember from the buoyancy scuba wisdom, to become neutrally buoyant as a diver you need to come into a horizontal position first; this we call horizontal trim. It is only by being horizontal that one can maintain a horizontal line of travel and as such maintain one’s depth.
Many newbie divers due to their excitement have the tendency to lift their head as high as possible to improve their view. The downside is that in many cases their chest comes up and at the same time their legs go down so that eventually they come into a diagonal position underwater. With every kick they make they start going up, not because they have a bad buoyancy control, but because their alignment in the water is off. As a result they have to come down again, reset their neutral buoyancy and work on their horizontal position to maintain their depth. Practise makes perfect, and after some time they all get the hang of it. But it is a bit of a waste of time and effort if you don’t get it right from the beginning.
Photo credit @anupjkat
Moreover one not always dives in perfect conditions, especially not in the Andamans, where currents are adding to the excitement of every dive. Many times one has to face the current and dive into the current, a horizontal trim leads to a streamlined position and less current exposure so it becomes easier. Moreover a diagonal position and frequent depth adjustments underwater might increase the risk of you being swept away under these conditions as you will never be diving against the current in the best position.
To become an efficient and effective diver one first of all gets in a horizontal trim position, this is non negotiable! Under any dive condition you will always be ready to respond quickly and accurately to any change in conditions.
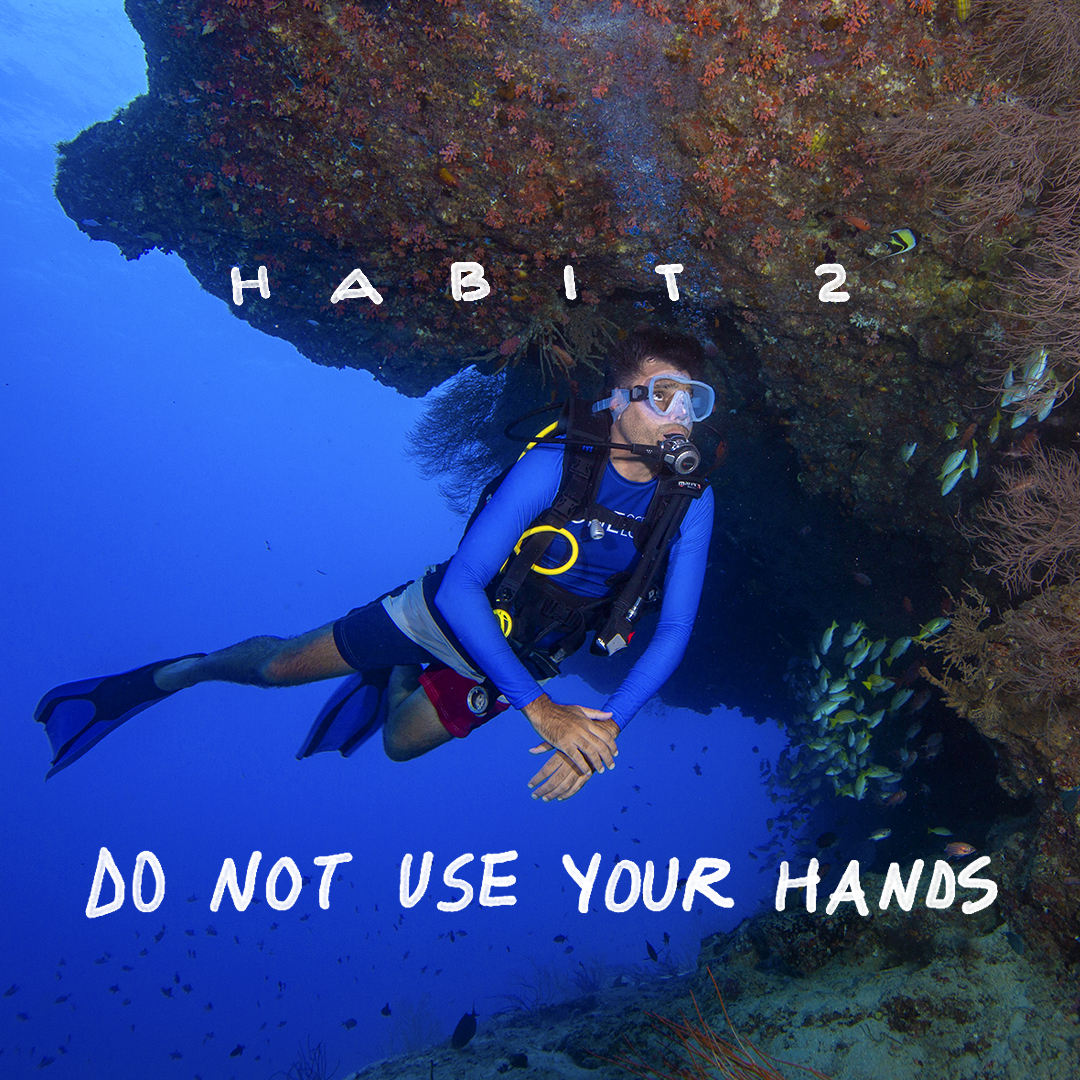
Habit 2 = Do not Use your Hands
When setting your neutral buoyancy, don’t use your hands. if you come horizontal and you start flapping your hands to compensate for a lack of air in your jacket how are you ever gonna fine tune your buoyancy? So when you are figuring out your neutral buoyancy in your horizontal position, keep your hands still.
If you keep your hands still, you can adjust with the right correction of air in your jacket. If you are flapping you might not put enough air in and as soon as you stop flapping you will sink. If you get the right amount and then start flapping you start going up. Moreover all this flapping of hands makes you very tired, there is really no point!
Your hands keep them still whilst setting your neutral buoyancy and diving. You cross your arms, or put them down your hips, or on your back … whatever you feel comfortable with.
Photo credit @anupjkat
I sometimes see divers swimming underwater, i.e. using their arms to move forward. In Scuba you do not use your arms for propulsion, your legs and fins are your propelling mechanism as this is the only efficient way to move forward.
Moving your hands again is very tiresome, but worst of all you create so much havoc underwater that all the fish look upon you as an approaching lunatic and will just turn their head and swim away. In other words you will not see anything underwater.
After your horizontal trim you do not use your hands whilst scuba diving (also non negotiable habit), as you will waste the least effort, be at one with the environment, and later have the same hands ready for clicking your photographs!
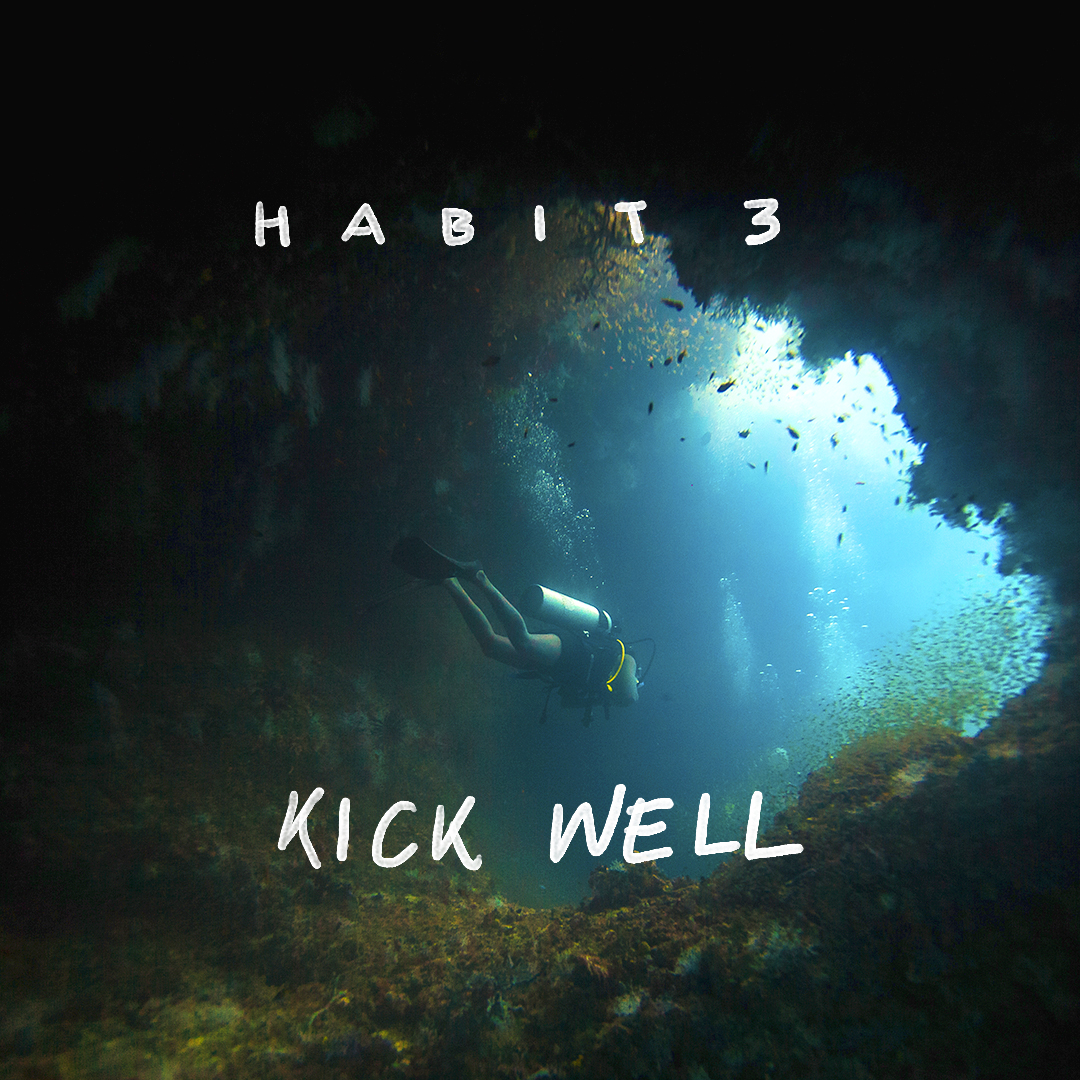
Habit 3 = Fin Kick Well
Next you have to move forward, for this you require an efficient and effective fin kick i.e. one that gives you maximum propulsion with minimum effort. There are 2 kicks you should learn: flutter kick and frog kick.
The flutter kick is the most common one: you bend your knees only slightly, then you kick from your hips “slowly”. Left fin goes up, right fin goes down, then you slide, and do the right up, left down fin combination. The sliding in between a cycle is important as it will show you how far you can actually go. It is important you kick from your hip, and not your knee: this is not a cycle kick, knees are bent in a slight angle and stay in this angle all the time. For you to optimise this kick, it is very important that your fins become an extension of your leg so the fin propellers are working (visualize your position as that of a ballerina with an arched back and resting on the pointed toes). If you do not stretch your toes out in the direction of your legs, the fin will make a 90 degree angle with your legs, and no propulsion will happen.
The two most common mistakes in this flutter kick is that divers are actually kicking from their knees, or moving their knees back and forward. This does not work at all, you get no propulsion, get left behind by all other divers, and at same time get very tired.
Another kick is the frog kick. It’s a little bit more difficult to practise and comes with experience but basically you are bending your knees so the fins appear above your bum, and then move the fins sideways out and in. The advantage here is as the fins are positioned higher up (and making a side and not up / down movement) there is less risk that you kick the bottom or break coral. The added advantage is that at the same time you control your buoyancy better in a stationary position (I practise this kick during my Peak Performance Buoyancy Specialty Class) as through a correct technique your fins are becoming a holding platform.
Photo credit @anupjkat
Both kicks are important to know (non negotiable) for you to be a great, efficient and effective diver: the flutter to work against the current, the frog kick to generally be a more environmentally conscious and safe diver.
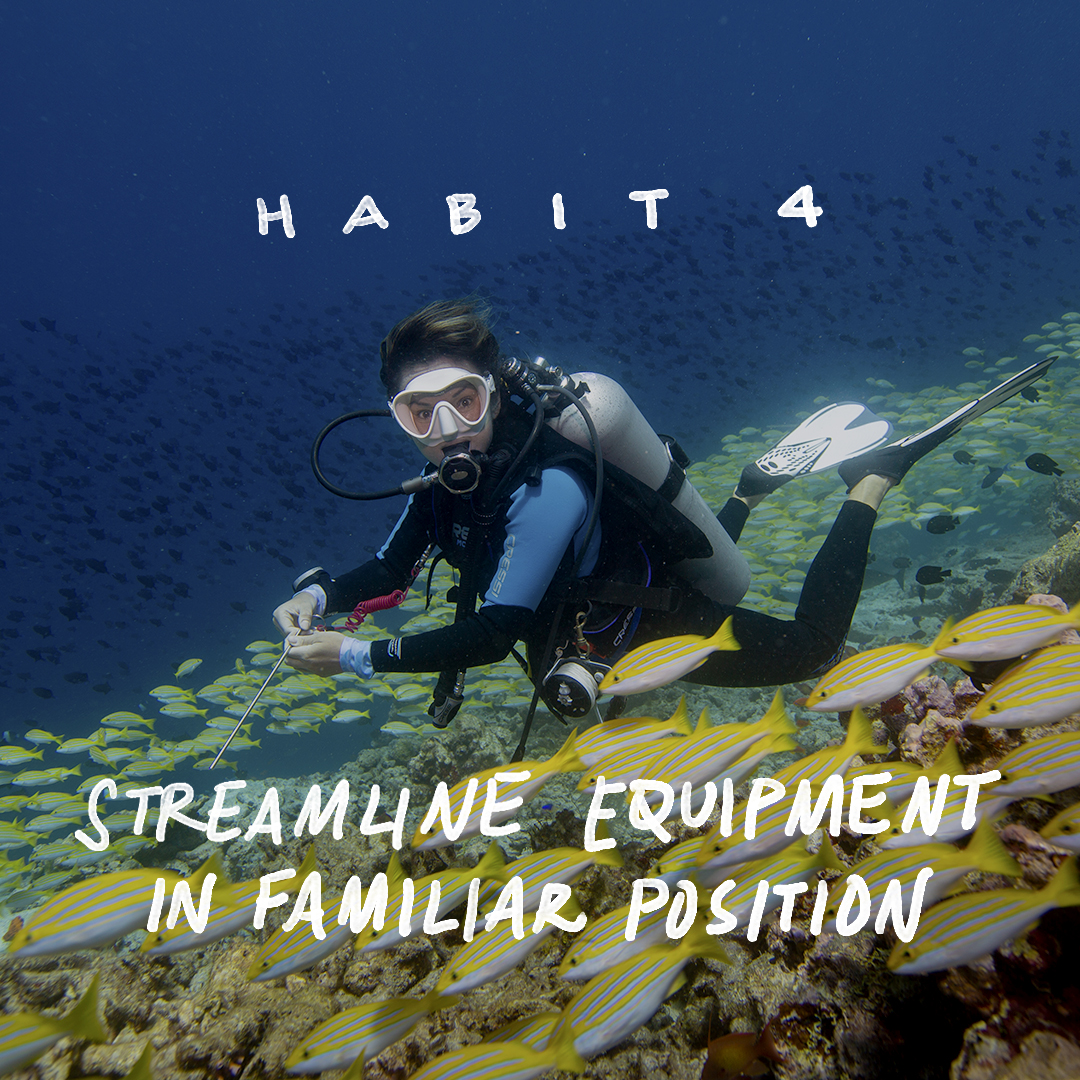
Habit 4 = Streamline Your Dive Equipment
We have looked at how a streamlined dive position, an efficient kick, and no use of your hands whilst scuba diving can help you with enjoying your dive in the most relaxed and comfortable manner. Before you get into the water it is very important to also streamline all your dive equipment.
Photo credit @anupjkat
With this I mean have a jacket or BCD that is fitted snugly, and nicely strapped onto your body (all releases are secured so nothing can move). A loose jacket with a 15kg tank on your back will just make you wobble underwater, and not be of any aid to be still and in tune.
Moreover your weights on your weight belt should be properly placed. If you have an even number put the same number on each side of your hips and a little forward; with an uneven number of weights put the last weight on your back. What you should avoid is an unequal balancing of weights as it will make you tilt to one side, or have all the weights on your back as it will put too much load there, and finally push your legs down (leading to a diagonal position).
Make sure that all your hoses are properly tucked away: your octopus hose should be locked in and with one hand movement come out in an emergency; letting it dangle will create unnecessary drag and might damage sea life. Your Console with depth / pressure gauge should preferably be fitted in such a manner that with one head movement down you can check your air and depth, and no drag is created to avoid damage. Doesn’t make too much sense to look for your depth / pressure gauge whilst scuba diving, as it will create a distraction.
Any extras you have (ie camera, slate, torch, reef / rock hook etc) should be attached to one of the D-Rings (BCD or other) and / or stored in one of your pockets. You should know where they are attached so you know how to get them. At the same time they again should not be dangling loose so you avoid creating damage, or being slowed down when you get hooked behind something.
All this positioning of equipment in your familiar place and simultaneous streamlining of it will again enable you to dive in an efficient and effective manner. Both factors will allow you to respond fast without wasting too much time or energy, and creating too much drag.
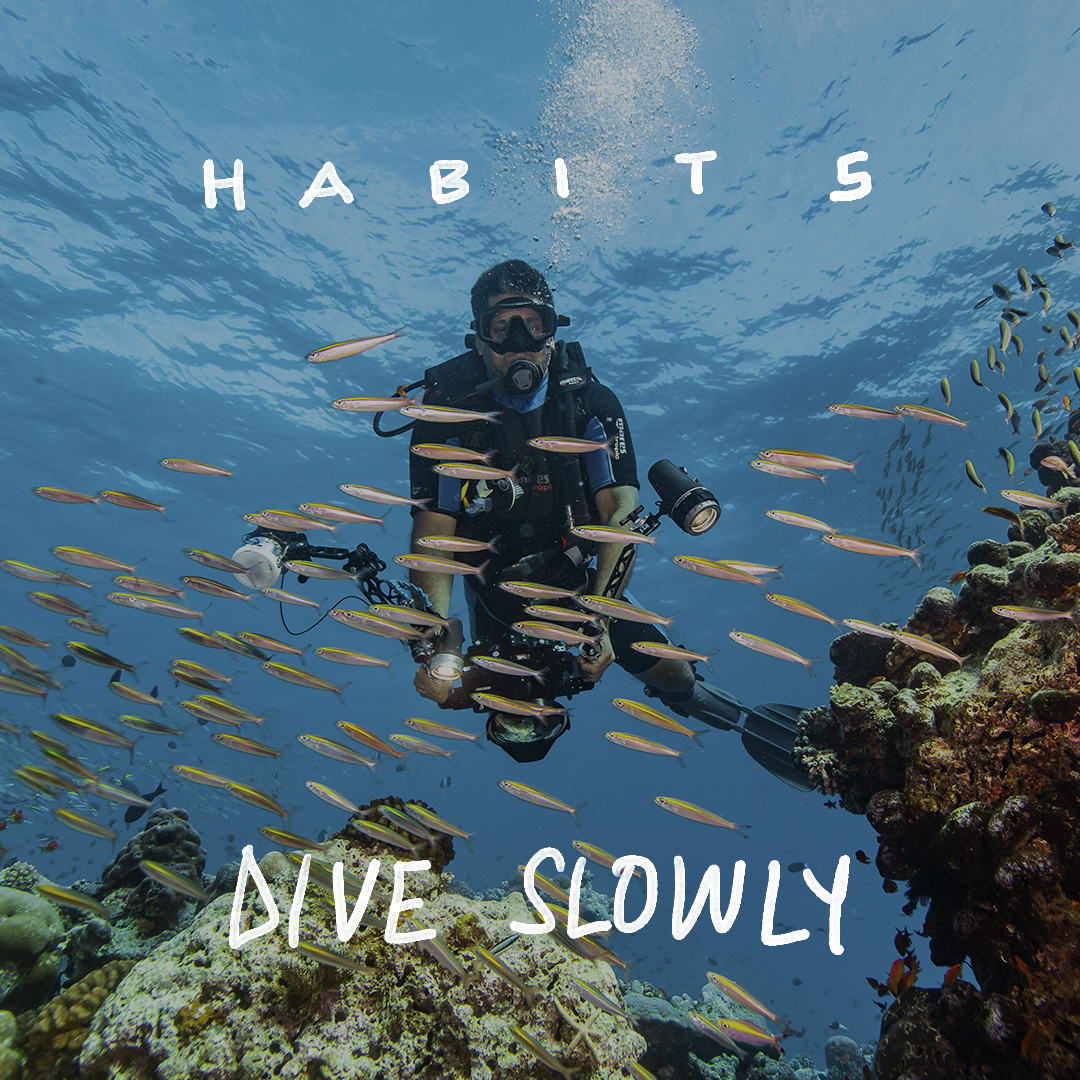
Habit 5 = Dive Slowly
10 years ago when I was teaching in Koh Tao one day I had to go to a dive site very close to the jetty as the weather was pretty poor. It was not really a dive site but a small rock underwater that we could circle to look at the fish and at the same time explore the sand for critters. At that time I had one fun diver: as in all my briefings I told him to dive slowly and stay with me.
As soon as we descended, my diver forgot all instructions but one, and bolted ahead. In less than 10 seconds he was out of sight. I had told him we would go around the rock, so I waited and after 4 minutes he had done his round.
Did he see anything? No! Did he waste any air? Oh yeah 40 bars was gone after Scuba Schumi had completed his tour! So I corrected him underwater and finally as a buddy team we completed a 45 minute dive.
Photo credit @anupjkat
Diving is not a race, you have to enjoy and take your time to explore the dive site. It is a discovery underwater, where you slowly patrol and look at all small niches and corners for some unexpected inhabitants. Going slow will set you in your zen mode, as you are not exerting yourself. Moreover once you are aware, at ease and calm, you start looking around you and taking the environment in. You are diving into National Geographic so you better take your time!
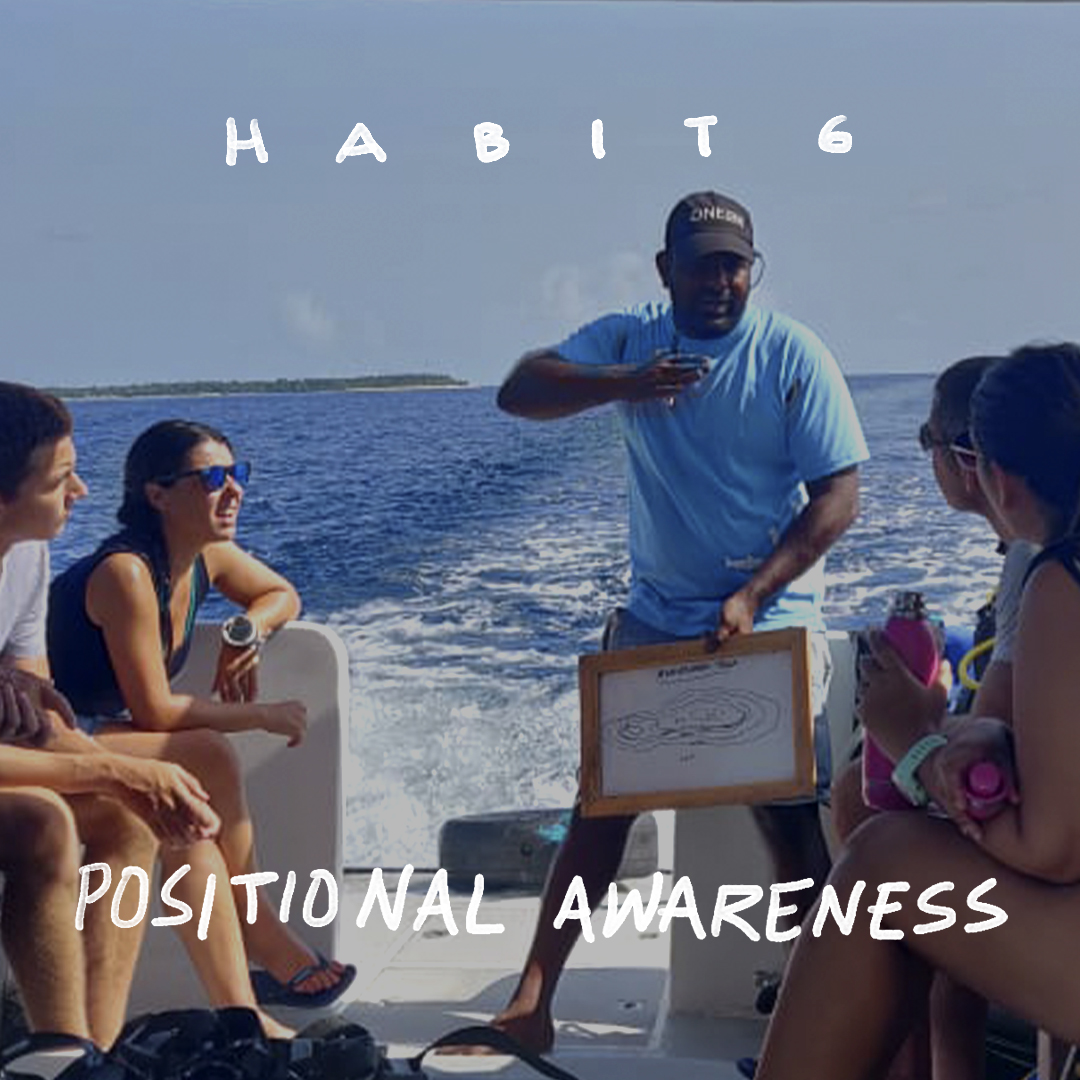
Habit 6 = Positional Awareness
After 15 years as a professional I still dive with a local guide when I dive somewhere new. They know the dive sites superbly well and know how to navigate them. Every great dive professional will give you an in depth briefing on how to dive a site.
How and where to enter the water, where we need to reach, how the currents are, how to work with or against the currents, where to see which of your most favourite marine life and how to approach them. This can only be explained by a local guide who is knowledgeable about the site.
I always pay great attention when professionals are doing a dive brief because that’s where 75% of your job is done: you explain well, you prevent most mistakes or problems from happening later underwater (when it is not always easy to remediate without spoiling one part of your dive).
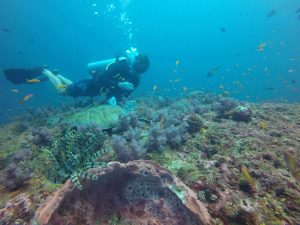
Photo credit @high_hat19
All their positional pointers (on how to dive a site) give me great awareness so I am prepared, and can enjoy the dive at the fullest. So listen to the dive briefing and be around your dive leader when diving. When you are all alone and not prepared, it might lead to unwanted situations where lots of efforts are wasted.
Habit 7 = Hook into the Rock (Reef)
To dive or not to dive? To kick or not to kick? To use your rock / reef hook or not?
As explained in previous habit the role of your dive guide is crucial. He knows the dive site, the local conditions and how currents will affect the dive. On a rare occasion your guide might advise to cancel or postpone a dive as conditions might be too dangerous. This can happen very rarely when tides are at its peak and above & underwater topography (like Komodo National Park) accelerate their effect.
If we go ahead with a dive under strong currents it is imperative that you make a quick descent to the bottom (if no buoy line is available) or you use the line to hold on to (always preferable). On your way down or once away from the line it is imperative that you do your best finkick to stay close to your guide. He / she knows where to get you so you can start enjoying your dive. Great guides can let your drift to that starting point, but sometimes due to unforeseen circumstances, one has to correct and kick to adjust the underwater route.
From time to time currents are so strong that we only dive for a short distance to come to a viewing point where we attach ourselves with a rock hook. A reef or rock hook is a hook made out of stainless steel attached to a 2 meter or longer webbing that ends up in a carabiner that can be attached to your BCD. This rock hook allows you to connect to a rock (not reef as it might get broken) and due to its webbing and attachment to your BCD, once hooked in you do not need to kick (not fighting the current) and are floating at a safe distance from the reef (after putting a little air in your BCD).
Photo credit @row_row
How to enter and start your dive under the expert supervision of your guide together with the use of a rock hook can save you a lot of effort underwater (when you land up at the wrong place).
Make your life easy and comfortable underwater when you scuba dive. Once you have your breathing and buoyancy under control, you have to start focusing on a few techniques or habits that allow for “relaxed” diving under any conditions.
A horizontal trim, with an effective kick and no use of hands, together with a familiar streamlining of your equipment, a slow pace, positional awareness and use of a rock hook will make the most prepared diver out of you.
Why Andaman Islands? If you can imagine being greeted by the sweet babble of wildlife, reverberating from lush tropical rainforests and the wise tranquility of
10 SCUBA WISDOMS : IMPORTANCE OF BUOYANCY CONTROL I often get the mistaken call enquiring how to get a driving license. SCUBA Diving is actually very much like DRIVING A